
Course Information
| Men's Tees |
|---|
|
Blue 378
|
|
White
368
|
|
Gold
351
|
|
Red
351
|
|
Handicap 9
|
| Ladies Tees |
|---|
|
Blue
378
|
|
White
368
|
|
Gold
351
|
|
Red
351
|
|
Handicap 5
|
Like many holes at Edgewood, the opener offers a player many options. Long ball hitters can tempt the fairway bunkers and high rough down the left side in order to cut the corner. If done properly, the green is only a short wedge shot away. Otherwise, a player may opt to aim right of the fairway bunkers and use a fairway wood or iron off the tee. This approach will leave a golfer with 120-150 yards into the slender, yet deep green. Bunkers surround the left side of the green while a bunker and steep drop off looms to the right.
| Men's Tees |
|---|
|
Blue
463
|
|
White
421
|
|
Gold
341
|
|
Red
341
|
|
Handicap
3
|
| Ladies Tees |
|---|
|
Blue
463
|
|
White
421
|
|
Gold
341
|
|
Red
341
|
|
Handicap
3
|
Because of a hard sloping left to right fairway, many golfers find their tee shots buried in the right rough. This is not the tough part though. A severely sloping two-tiered green awaits your approach. If you see the flag on the back tier, you should know you are in for a challenge. Any shot that comes up short will roll back down to the bottom tier and any shot that goes long will eventually be on that lower tier. The chip shot from over the green is nearly impossible. A par will generally win this hole during your match.
| Men's Tees |
|---|
|
Blue
204
|
|
White
159
|
|
Gold
143
|
|
Red
132
|
|
Handicap
15
|
| Ladies Tees |
|---|
|
Blue
204
|
|
White
159
|
|
Gold
143
|
|
Red
132
|
|
Handicap
17
|
From the Blue tee, this 200 yard Par 3 is a true beast. There is only one bail out position and that is short of the green. Deep bunkers that are virtually impossible to get up and down from line the left and right side of the green. The putting surface has been known to fool even the best putters with its challenging slopes and breaks.
| Men's Tees |
|---|
|
Blue
460
|
|
White
430
|
|
Gold
354
|
|
Red
354
|
|
Handicap
1
|
| Ladies Tees |
|---|
|
Blue
460
|
|
White
430
|
|
Gold
354
|
|
Red
354
|
|
Handicap
1
|
Hole number 4 is the longest par 4 on the course for the membership and is the Club's number one handicap hole. Regardless of what tee is played, a golfer has to fly the ball at least 230 yards to clear a giant hill and be able to see the green. A blind second shot that generally serves as a lay up to the cross bunkers awaits any player unable to clear the hill. The green is easily one of the biggest and flattest on the course.
| Men's Tees |
|---|
|
Blue
176
|
|
White
164
|
|
Gold
115
|
|
Red
115
|
|
Handicap
13
|
| Ladies Tees |
|---|
|
Blue
176
|
|
White
164
|
|
Gold
115
|
|
Red
115
|
|
Handicap
15
|
Club selection is key on this mid-length Par 3. The hole is straight up hill with a severe two-tiered green. Take at least one extra club to compensate and try to be accurate. Bunkers lurk to the left and right of the green. Getting up and down from over the green would challenge even Tiger Woods!
| Men's Tees |
|---|
|
Blue
416
|
|
White
400
|
|
Gold
336
|
|
Red
336
|
|
Handicap
5
|
| Ladies Tees |
|---|
|
Blue
416
|
|
White
400
|
|
Gold
336
|
|
Red
336
|
|
Handicap
11
|
The first of two back-to-back straight away Par 4’s. Out of bounds markers line the entire left side of the hole. Fairways bunkers will eat up any shots down the right side. After the tee shot, most golfers have a mid to long iron into this spacious green. Don’t be afraid to run the ball up onto the putting surface. The back of this green offers many “sucker” pins to lure a golfer into a big score.
| Men's Tees |
|---|
|
Blue
420
|
|
White
409
|
|
Gold
329
|
|
Red
329
|
|
Handicap
7
|
| Ladies Tees |
|---|
|
Blue
420
|
|
White
409
|
|
Gold
329
|
|
Red
329
|
|
Handicap
13
|
A mirror image of Hole #6. With out of bounds again down the left side, a player has to be long and down the right side of the fairway. Most players hit their second shots to the front of the green and expect the ball to roll back to the hole. The green slopes from right-to-left and can be tricky if the ball stays on the right side of the putting surface.
| Men's Tees |
|---|
|
Blue
580
|
|
White
533
|
|
Gold
456
|
|
Red
417
|
|
Handicap
11
|
| Ladies Tees |
|---|
|
Blue
580
|
|
White
533
|
|
Gold
456
|
|
Red
417
|
|
Handicap
9
|
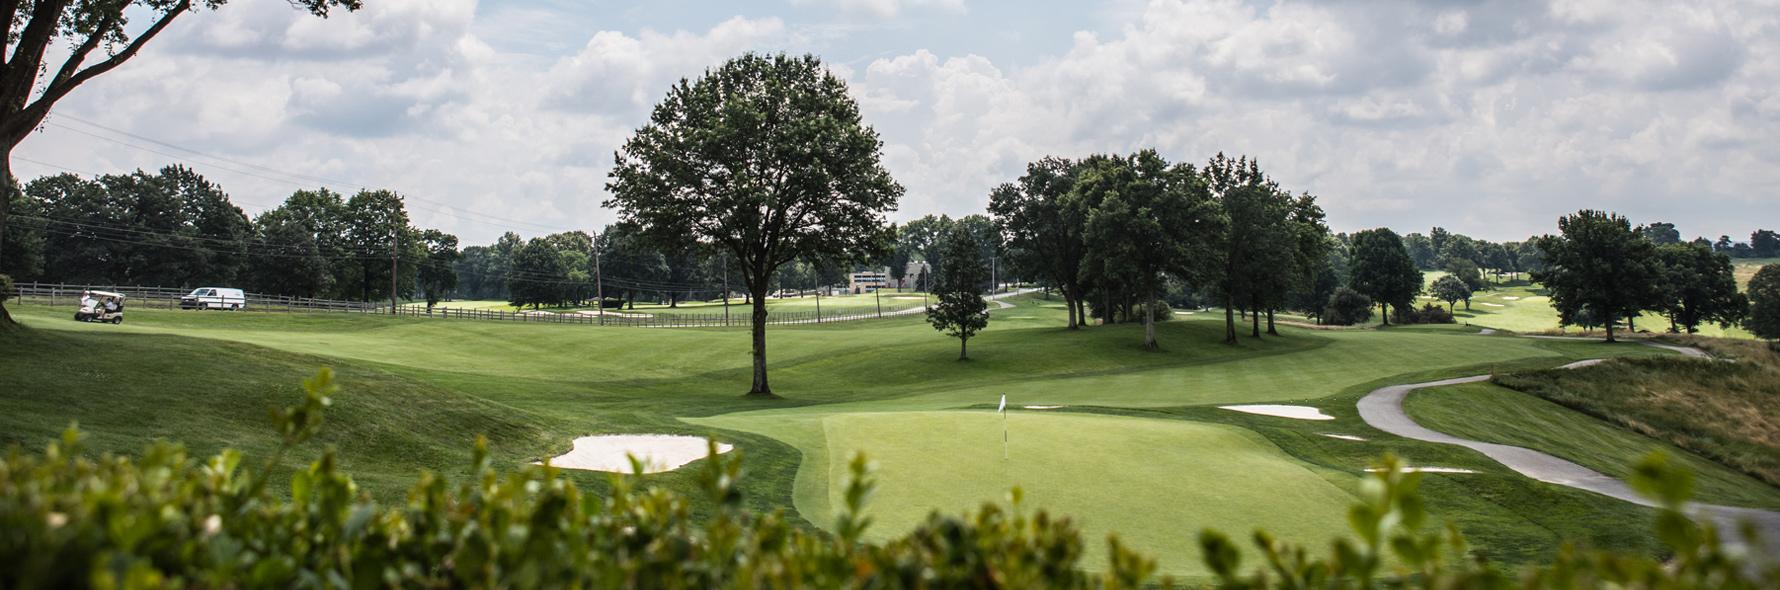
This Par 5 is Edgewood’s signature hole and sums up what the course is all about. Make sure to catch a glimpse of the view from the tee back to the club house. The fairway slopes hard from right-to-left. It is very common to think your ball will be in the fairway, but it winds up in the left rough. The second shot has you setting up with the ball above your feet, which generally means a lay up shot on this lengthy Par 5. The approach to the green better be accurate. The green is tiny and has a false front that feeds many golf balls back off the green and into the fairway. Through the elevations changes and rolling hills of this hole, one might actually forget about the goal of making par because they are in awe of its beauty.
| Men's Tees |
|---|
|
Blue
307
|
|
White
299
|
|
Gold
282
|
|
Red
282
|
|
Handicap
17
|
| Ladies Tees |
|---|
|
Blue
307
|
|
White
299
|
|
Gold
282
|
|
Red
282
|
|
Handicap
7
|
ECC starts the front nine with a decision off the tee and it ends the same way. Numerous members and guests have driven this 307 yard hole. Attempting to do so is a high risk option because of a drastic fall off left of the green. The smart play is a hybrid or long-iron to the narrow part of the fairway which gives you a full shot into the green. Either way, this hole defines the true meaning of risk reward!
| Men's Tees |
|---|
|
Blue
337
|
|
White
331
|
|
Gold
318
|
|
Red
318
|
|
Handicap
10
|
| Ladies Tees |
|---|
|
Blue
337
|
|
White
331
|
|
Gold
318
|
|
Red
318
|
|
Handicap
6
|
Golfers better be able to play from an uphill lie on this hole. While there is ample room to hit the tee shot, the fairway slopes drastically uphill making it tough to control your approach shot to the green. The putting surface is once again two-tiered. The back tier is very small and requires a near perfect golf shot to have a good look at birdie.
| Men's Tees |
|---|
|
Blue
398
|
|
White
379
|
|
Gold
339
|
|
Red
255
|
|
Handicap
8
|
| Ladies Tees |
|---|
|
Blue
398
|
|
White
379
|
|
Gold
339
|
|
Red
255
|
|
Handicap
12
|
This is another hole that has a wide landing area accepting tee shots. Out of bounds does loom down the right side of the entire hole so a player still needs to be careful. The green has a significant false front just like many Donald Ross classic holes. The first time our Head Professional ever played this hole, his second shot hit 8 inches from the cup, yet his third shot was a 40 yard chip from off the front of the green. I guess he learned his lesson!
| Men's Tees |
|---|
|
Blue
175
|
|
White
163
|
|
Gold
148
|
|
Red
115
|
|
Handicap
12
|
| Ladies Tees |
|---|
|
Blue
175
|
|
White
163
|
|
Gold
148
|
|
Red
115
|
|
Handicap
16
|
When golfers think of Edgewood, most remember the challenging putting greens. At the top of that list is the green on Hole #12. Two putting is a success story of its own. All in all, this is a terrific Par 3 with an elevated green and trouble everywhere. Bunkers guard both sides of the green and out of bounds is just several yards from the back of the putting surface. Proper club selection is the key, but be wary of the false front.
| Men's Tees |
|---|
|
Blue
399
|
|
White
389
|
|
Gold
322
|
|
Red
322
|
|
Handicap
4
|
| Ladies Tees |
|---|
|
Blue
399
|
|
White
389
|
|
Gold
322
|
|
Red
322
|
|
Handicap
4
|
Long hitters will have no problem carrying the fairway bunkers and cutting the corner on this sharp dog-leg right. However, an errant tee shot to the left or right will result in some imagination as groups of trees take away clean looks to the green. Because of the endless background behind the green, the second shot has been known to play mind games with most players. Once at the green, a huge surface with several severe undulations awaits the golfer. This is another hole where running the ball up onto the green will serve as a great option.
| Men's Tees |
|---|
|
Blue
140
|
|
White
127
|
|
Gold
108
|
|
Red
108
|
|
Handicap
18
|
| Ladies Tees |
|---|
|
Blue
140
|
|
White
127
|
|
Gold
108
|
|
Red
108
|
|
Handicap
18
|
This 140 yard Par 3 is shortest hole on the course, but definitely not the easiest to play. It demands an accurate tee shot. The green is two-tiered from left to right and the difference between the tiers is at least five feet. If the pin is on the right tier and your ball ends up on the left one, good luck trying to two putt!
| Men's Tees |
|---|
|
Blue
343
|
|
White
331
|
|
Gold
318
|
|
Red
318
|
|
Handicap
6
|
| Ladies Tees |
|---|
|
Blue
343
|
|
White
331
|
|
Gold
318
|
|
Red
318
|
|
Handicap
8
|
Short, but tricky, this Par 4 requires an accurate drive between three fairway bunkers. Long hitters can fly the bunkers, but will face a difficult approach shot with a wedge or sand wedge. The green is beautifully contoured with more than a gentle slope from left to right.
| Men's Tees |
|---|
|
Blue
501
|
|
White
471
|
|
Gold
430
|
|
Red
382
|
|
Handicap
14
|
| Ladies Tees |
|---|
|
Blue
501
|
|
White
471
|
|
Gold
430
|
|
Red
382
|
|
Handicap
10
|
This Short Par 5 is 471 yards uphill. Place your drive somewhere along the left side of the fairway. This will allow a flat stance for your second shot, but be careful because out of bounds falls to the right side of the hole and behind the green. Smart players will lay up with a mid-to-short iron and look for a full wedge into the green. Some places on the green allow fairly straight and simple putts while other spots are much more difficult.
| Men's Tees |
|---|
|
Blue
504
|
|
White
476
|
|
Gold
442
|
|
Red
380
|
|
Handicap
16
|
| Ladies Tees |
|---|
|
Blue
504
|
|
White
476
|
|
Gold
442
|
|
Red
380
|
|
Handicap
14
|
Hole 17 serves the shortest Par 5 on the golf course. It is a true risk and reward hole. Because it plays slightly downhill, the ball has been known to really roll out on dry days. But take note because it is a real challenge to get on the putting surface from anywhere except the fairway. Once on the green, a fairly flat putt awaits giving the golfer a good run at birdie or possibly even eagle.
| Men's Tees |
|---|
|
Blue
420
|
|
White
402
|
|
Gold
324
|
|
Red
324
|
|
Handicap
2
|
| Ladies Tees |
|---|
|
Blue
420
|
|
White
402
|
|
Gold
324
|
|
Red
324
|
|
Handicap
2
|
Hole #18 is definitely one of the best and hardest finishing holes in Western Pennsylvania. Many years ago when Arnold Palmer was playing a West Penn Open at Edgewood, he carded an 8 on this hole to end his day. If the tee shot looks narrow, it is because it really is that tight! Out of bounds stakes are only a couple yards off the fairway the entire right side of the hole. A thick row of trees guards the left side. The green is elevated and has a severe false front. If you make par on this closing hole, count your blessings and head inside to grab a drink!